Exercise: Hanging protocol capture
You can also create a hanging protocol by “capturing” the current screen.
- Load a study. Use the study layout and view tools to place the series on the screen.
- Adjust the presentation state as needed (w/l, zoom, thickness and so on) and scroll to the desired frame.
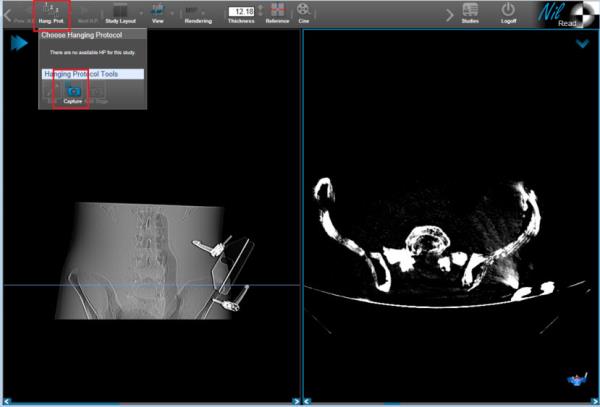
- Select Hang. Prot. (top toolbar), then select Capture. For example:
- The Hanging Protocol Editor appears. In the Protocol Info section, enter a name for the protocol and define the protocol type (User or System). Information is automatically entered in the following sections:
Anchor study matching
- Modality.
Comparison study matching
- Matching rules for prior studies (if prior studies are included in the display).
Monitors
- Current monitor setup. For example, if you are capturing from a two monitor setup, this setup is automatically added to the list.
Protocol stages
- By default, the first stage is named Capture. You can change this name if desired.
- The current state of the series link and reference lines display.
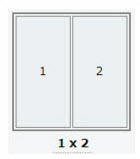
- The current study layout. In our example, a 1x2 layout is used:
- The protocol layouts for each screen area. In our example, a 2D 1x1 layout and a Slab Axial layout are used:


- The study from which the series is picked. In our example, it is picked from the Anchor study only.
- The rules for picking up the series. The default is by index; however, changing this to by dicom matching will display all the captured parameters.
- by index automatically identifies series according to the series index (in the default NilRead load order). For example:

- by dicom matching will capture some of the DICOM attributes of the currently displayed series (this list is configurable per modality). You can edit the DICOM rules as needed. For example:

- The presentation state for each series (w/l, invert greyscale status, and so on).
- The initial image to be displayed from the series. If by index is used, the image numbers are counted automatically. If by dicom matching is used, several DICOM attributes are captured. In our example, only Instance Number was present:

- Customize the information as needed, then select Save. Reload the study to view it with the new hanging protocol.
If a hanging protocol is already active, you can capture the current display as an additional stage. This procedure is similar to creating a new protocol.
- Load a study. As before, use the study layout and view tools to place the series on the screen; adjust the presentation state as needed.
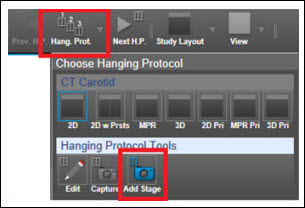
- Select Hang. Prot. (top toolbar), then select Add Stage.
- A new stage is added after the existing stages in the protocol. To change the position of the stage, select the Stage tab, then select Move Back.

- Customize the captured stage as needed and save the protocol.
- The hanging protocol will be automatically reapplied to the study. Use the Prev H.P. and Next H.P. buttons to move through the stages.